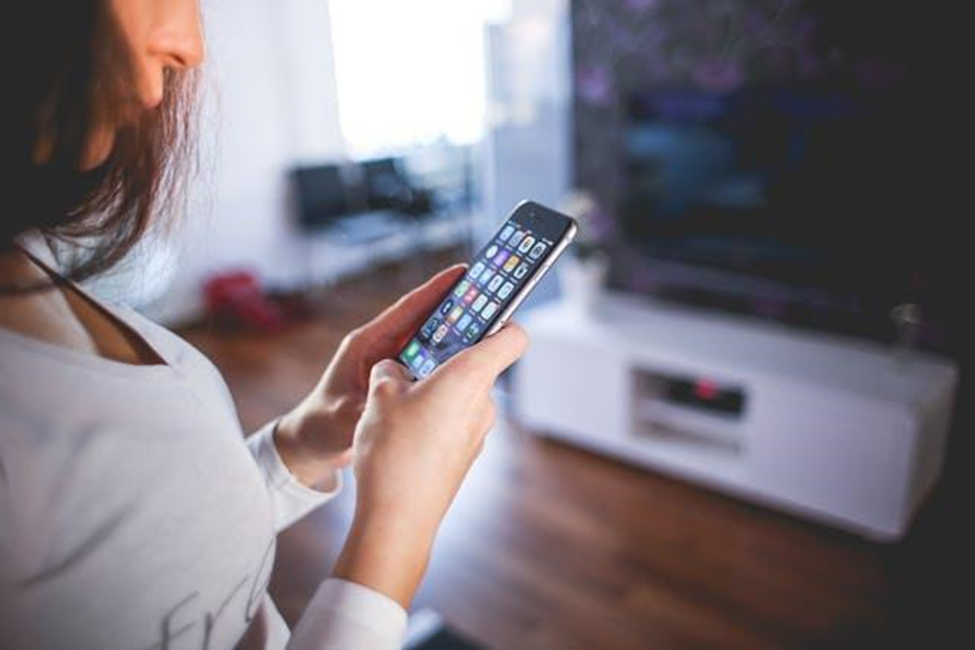
Screenshots help you capture the exact data displayed on your screen. You can use different applications to view, edit, and share. Some applications allow you to turn screenshots into videos. It facilitates both the information's clarification and the recipients' understanding. An iPhone has a large storage and can store thousands of screenshots. Soon, it could be harder to retrieve specific images due to the growing number of screenshots. You have to figure out how to arrange your iPhone's photos in the best way possible. It makes it easier to store more and share without stressing yourself.
The first step to organizing and sharing your images is understanding where screenshots go on the iPhone. By default, all your screenshots go to the photo library. The iPhone shoots screens as PNG, although you may convert them later to JPEG. This is why it saves them as photos in the photos app. You must open the Photos app and then the Albums icon to see them.
Since the phone stores all images, check media types and choose screenshots. The phone will display all the screenshots that you have ever taken. The main challenge is identifying them by date, type, message, etc. This is where the organization comes in. Keeping them organized makes sharing easier.
Your iPhone can capture various kinds of screenshots. You can take a screenshot of the entire screen, just a portion, or both. Knowing how to capture a screenshot on an iPhone is essential. All you have to do is press the side and volume buttons simultaneously. Once you release them, you will see the iPhone screenshot displayed as a thumbnail on the lower left side of the screen. Since the phone has already saved it, swipe it to dismiss it. It is easy to learn how to screenshot a portion of the screen. This option requires you to screenshot the whole screen first. You can crop and remove unwanted portions using a third-party or phone photo editor.
All images shot on your iPhone go to the same folder—the photos folder. Organizing everything helps you eliminate stress. It also helps locate images quicker and allows them to be shared across different channels. Different strategies can help you organize and share images on your iPhone.
You can organize your images using folders and albums. Learning how to organize photos taken with your iPhone makes organizing all the other images easier. This will keep them readily available for sharing and use. To create folders and albums, follow these steps.
Open the Photos application.
Scroll down to select the Albums icon.
Tap on the + to create a new album.
Name it screenshots or any other name.
Within the album, create several folders. You can store different categories of images there.
Create week-to-week or month-to-month files. Arrange your screenshots in chronological order. Drop the images into the different folders based on their shot dates. To arrange chronologically, open the Photos app. To arrange by days, tap on the Days icon. To arrange by month, tap on the Months icon.
You can save your images using Apple’s iCloud or other cloud storage, such as Dropbox. You must sync the iPhone’s Photo app with the cloud storage. From there, create well-organized folders in the cloud. This ensures you can access your images from any device and is a backup if your iPhone gets damaged or lost.
Image credit: Pexels
Another way to manage photos on an iPhone is to use tags and keywords. Choose a good tagging tool and label your images. Use a keyword tool to add unique keywords to describe the images. This strategy makes them easier to retrieve when you need to share.
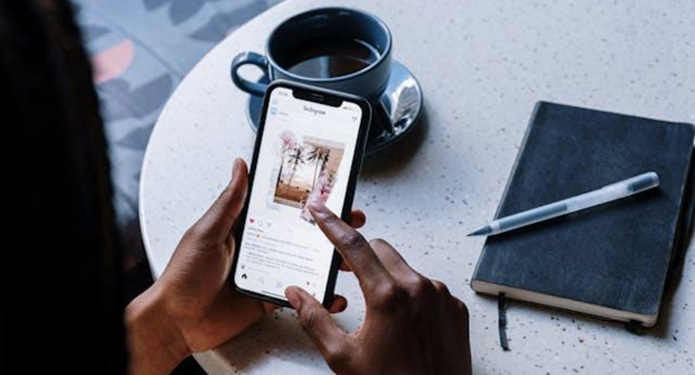
Sharing from the Photos app prevents the need to keep duplicating images. Having too many duplicates fills up your phone too fast. Use these steps to post from the Photos app.
Explore the folder that holds the screenshot by opening the Photos app.
Hold down the picture you are interested in sharing.
To access the sharing option, tap the Share button.
Choose your preferred option, such as WhatsApp, email, or messaging.
Choose the recipient and send/share.
There are many third-party applications that you can use to share screenshots. Know how to change the settings to use third-party tools. Consider the cost of acquiring the tools and their ease of use.
You can share images right from cloud storage. Press the Share button, choose the recipient's email address, and select the image you wish to share. Then, you can copy and share a sharing link on other websites and social media platforms.
USB cables allow you to share images from an iPhone to a MacBook storage. Another option is to drop them on a USB flash disk or card. Opt for a Bluetooth connection if you don’t want to use cables.
A single screenshot might not take up much space on your iPhone. However, thousands of them could fill up storage quickly. Some of the images could be duplicates. Once shared, some might no longer be useful. Delete screenshots you no longer require to reduce mess and free up space. Removing them will make it simpler for you to handle the remaining images.
Screenshots are great for sharing information and storing useful data. However, they can quickly develop and become more difficult to control. There are quick methods for managing your images. Create folders and files to categorize them. Choose to store them in the cloud. Remove all the images that you no longer have. Scan for duplicates and remove them to create more space. Sharing methods include using social media, email, and messaging channels.